
vue.js로 구현하는 예제(ver.4)입니다.
예제는 인프런의 캡틴판교, "장기효"님의 Vue.js 완벽 가이드 - 실습과 리팩토링으로 배우는 실전 개념을
들으면서 공부한 내용입니다.
동적 라우트 매칭(dynamic route matching)
dynamic route matching 공식문서:
https://router.vuejs.org/guide/essentials/dynamic-matching.html#reacting-to-params-changes
Dynamic Route Matching | Vue Router
Dynamic Route Matching Very often we will need to map routes with the given pattern to the same component. For example we may have a User component which should be rendered for all users but with different user IDs. In vue-router we can use a dynamic segme
router.vuejs.org
특정 routes url로 이동할때 일정한 패턴을 가지고 있고,
아래와 같이 params에 id 값이 넘어가게 되고,
https://goddino.tistory.com/116url의 숫자 부분이 실제로는 아래와 같이 동적으로 처리합니다.
https://goddino.tistory.com/:idvue에서는 동적 라우트 매칭의 성격을 이용하여 페이지 안에서 데이터를 호출하고, 그 정보에 맞는 화면으로 바로 이동할 수 있습니다.
예제 news 사이트 구현 내용
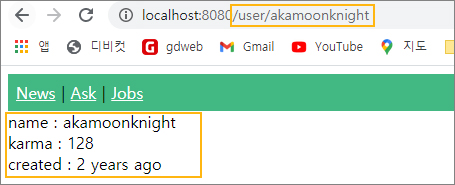
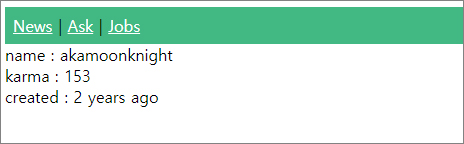
· News 페이지의 콘텐츠에서 user ID를 클릭 후, 해당 user 정보 페이지로 이동

akamoonknight 클릭 후 화면 결과
동적 라우터 적용 방법 순서
| No. | 순서 | Remark |
| 1 | 컴포넌트 파일 생성 | |
| 2 | 컴포넌트 라우트 생성 | path에 url 패턴 설정 id를 params로 넘김 |
| 3 | 라우트 링크 연결 | <router-link> |
| 4 | api 호출 | store 적용-state, actions, mutations |
동적 라우터 적용
파일 생성
views 폴더 > UserView 파일 생성
동적 라우트 생성
routes > index.js
routes: [ ] 안 path에 url 패턴 설정, id를 params로 넘깁니다.
{ path: '/user/:id', component: 해당 컴포넌트 이름 } //주소창의 경로(path) 표시
라우터 링크 연결
· NewsView.vue에서 router-link 태그로 링크 화면 연결
· item.user(user name) url로 동적으로 해당 주소로 넘어가기 위해 v-bind:to (축약형 :to) 사용
NewsView.vue
 <router-link v-bind:to="`/user/${item.user}`"> //user정보를 불러오는 실제 api주소와 매칭시킴
 	{{ item.user }}
 </router-link>
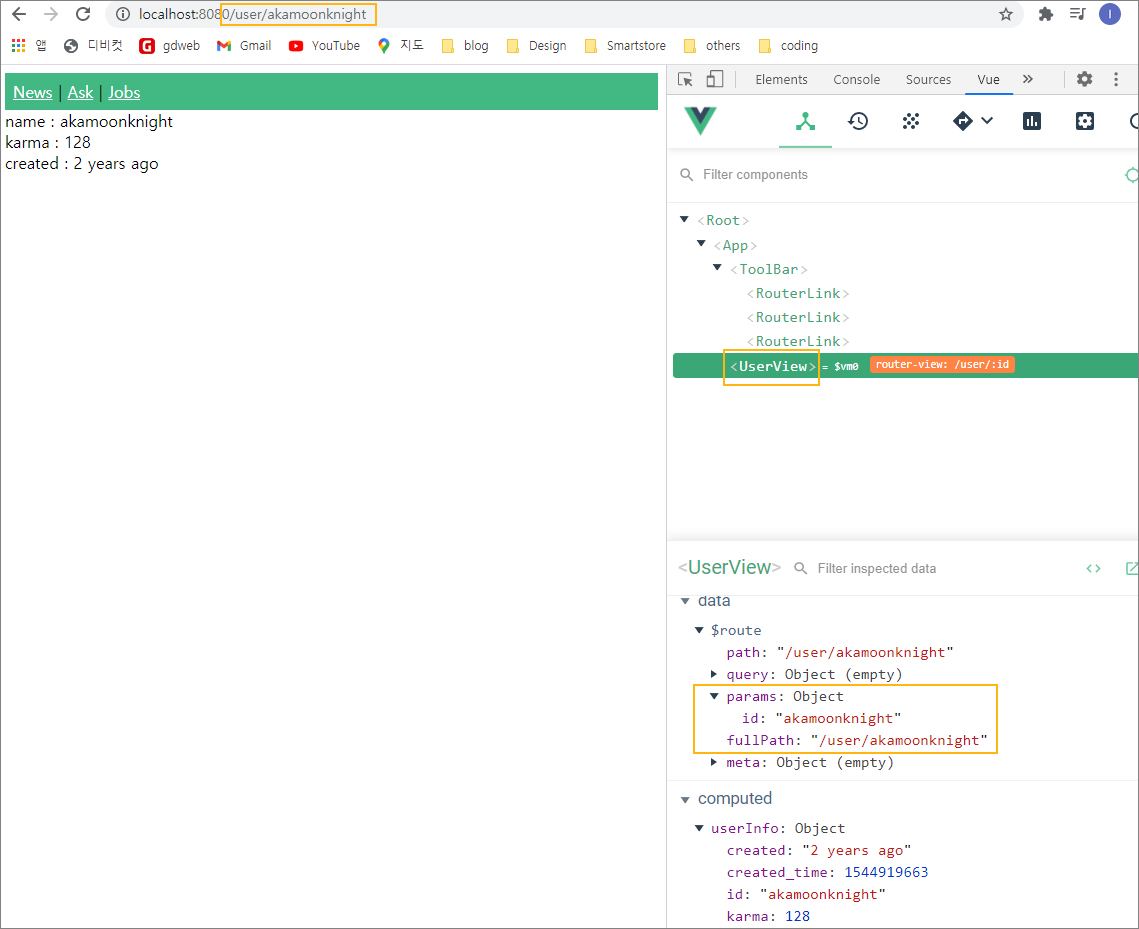
vue 개발자 도구 확인
params:{ router에서 설정한 id : ${item.user}로 넘어온 값}
api 호출(store 사용)
userView.vue
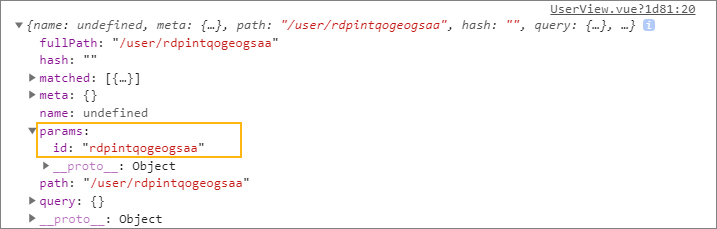
console.log(this.$route);
개발자 도구에서 this.$route 값은, 아래와 같이 해당 user의 params 값이 출력되고,
this.$route.params.id를 이용하여 api 주소를 호출합니다.
api > index.js
api 주소 함수화 등록
function fetchUserInfo(username) { //인자로 user 넘겨받음
   return axios.get(`${config.baseUrl}user/${username}.json`);
}

export { //export default 아님
    fetchNewsList,
    fetchAskList,
    fetchJobsList,
    fetchUserInfo, //추가
    fetchItemInfo,
}
views > Userview.vue
dispatch로 action 의 'FETCH_USER' 호출 및 username 인자 전달
created() {
  console.log(this.$route);
  const userName = this.$route.params.id;
  //인자를 userName 한개만 넘어갈수 있음(payload)
  //여러개일 경우, 객체로 감싸서 넘겨줘야 함
  this.$store.dispatch("FETCH_USER", userName);
},
store > action.js
· 'FETCH_USER'가 username를 name 인자로 받음
· fetchUserInfo에 name을 인자로 전달
· commit으로 mutation의 'SET_USER'를 호출
import { fetchNewsList } from "../api/index";FETCH_USER(context, name) {
fetchUserInfo(name)
.then(response => {
context.commit('SET_USER', response.data)
})
.catch(error => console.log(error))
},
store > mutation.js
인자로 받은 결과 response.data로 state의 user 값 변경
SET_ITEM(state, user) {
  state.user = user
}
store > index.js
data 설정
export const store = new Vuex.Store({
    state: {
        news: [],
        ask: [],
        jobs: [],
        user: {}, //추가
        item: [],
    },
})
api 호출 작동 여부 확인
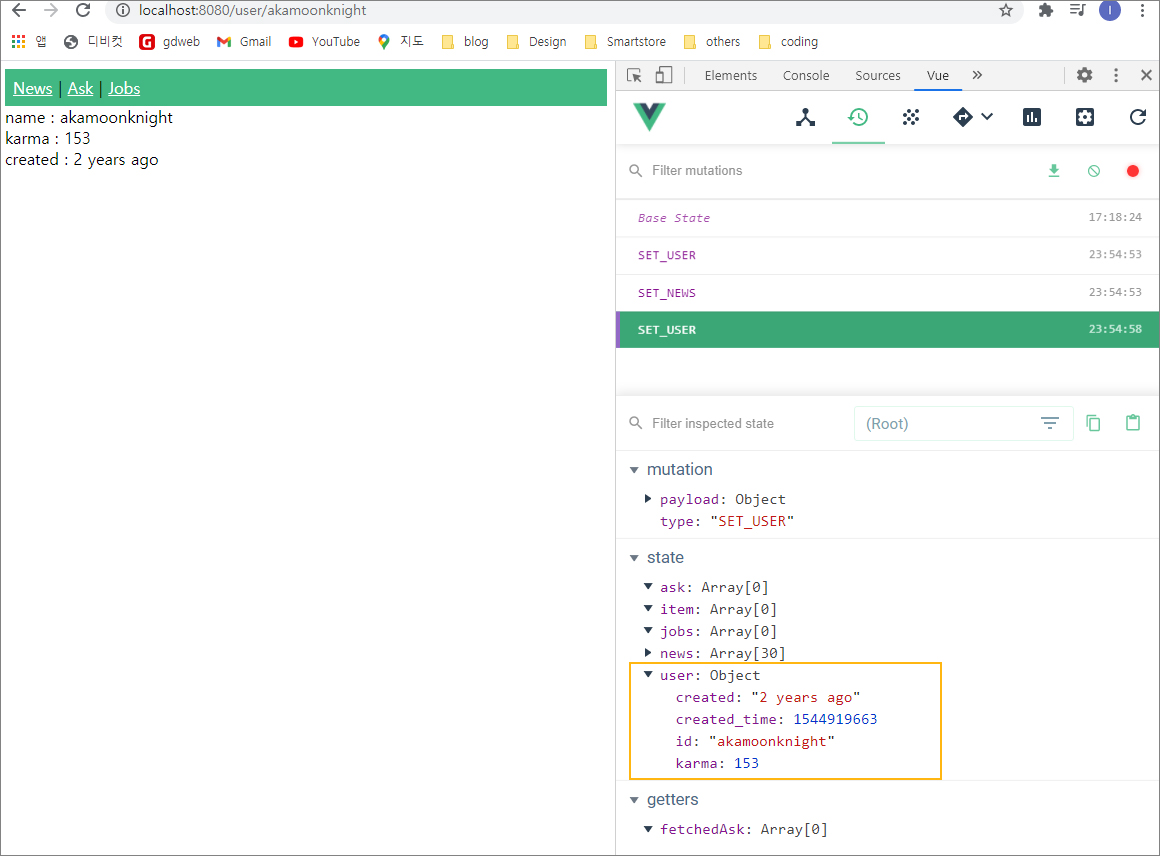
데이터 화면 출력
view > UserView.vue
<template>
  <div>
    <div>name : {{ userInfo.id }}</div>
    <div>karma : {{ userInfo.karma }}</div>
    <div>created : {{ userInfo.created }}</div>
  </div>
</template>

<script>
export default {
  //computed 속성 공식문서에 의해 life cycle 위에 위치
  //코드 축약
  computed: {
    userInfo() {
      return this.$store.state.user;
    },
  },
};
</script>
화면 결과
'💻CODING > react. vue' 카테고리의 다른 글
| [vue] vue 리팩토링: 공통 컴포넌트화(api 통해 뉴스 사이트 구현 ver.6) (0) | 2021.01.23 |
|---|---|
| [vue] vue getters, v-html, transition(api 통해 뉴스 사이트 구현 ver.5) (0) | 2021.01.21 |
| [vue] vue vuex , store적용(api 통해 뉴스 사이트 구현 ver.3) (0) | 2021.01.14 |
| [vue] vue axios 이용한 api 서버 통신(api 통해 뉴스 사이트 구현 ver.2) (0) | 2021.01.13 |
| [vue] vue.js 라우터 연결, nav 출력(api 통해 뉴스 사이트 구현 ver.1) (0) | 2021.01.13 |


댓글