
react 라이브러리,
next.js로 만튼 사이트 예제입니다.
예제는 유투버, code Scalper님의 강의를 들으면서 공부한 내용입니다.
구현 화면
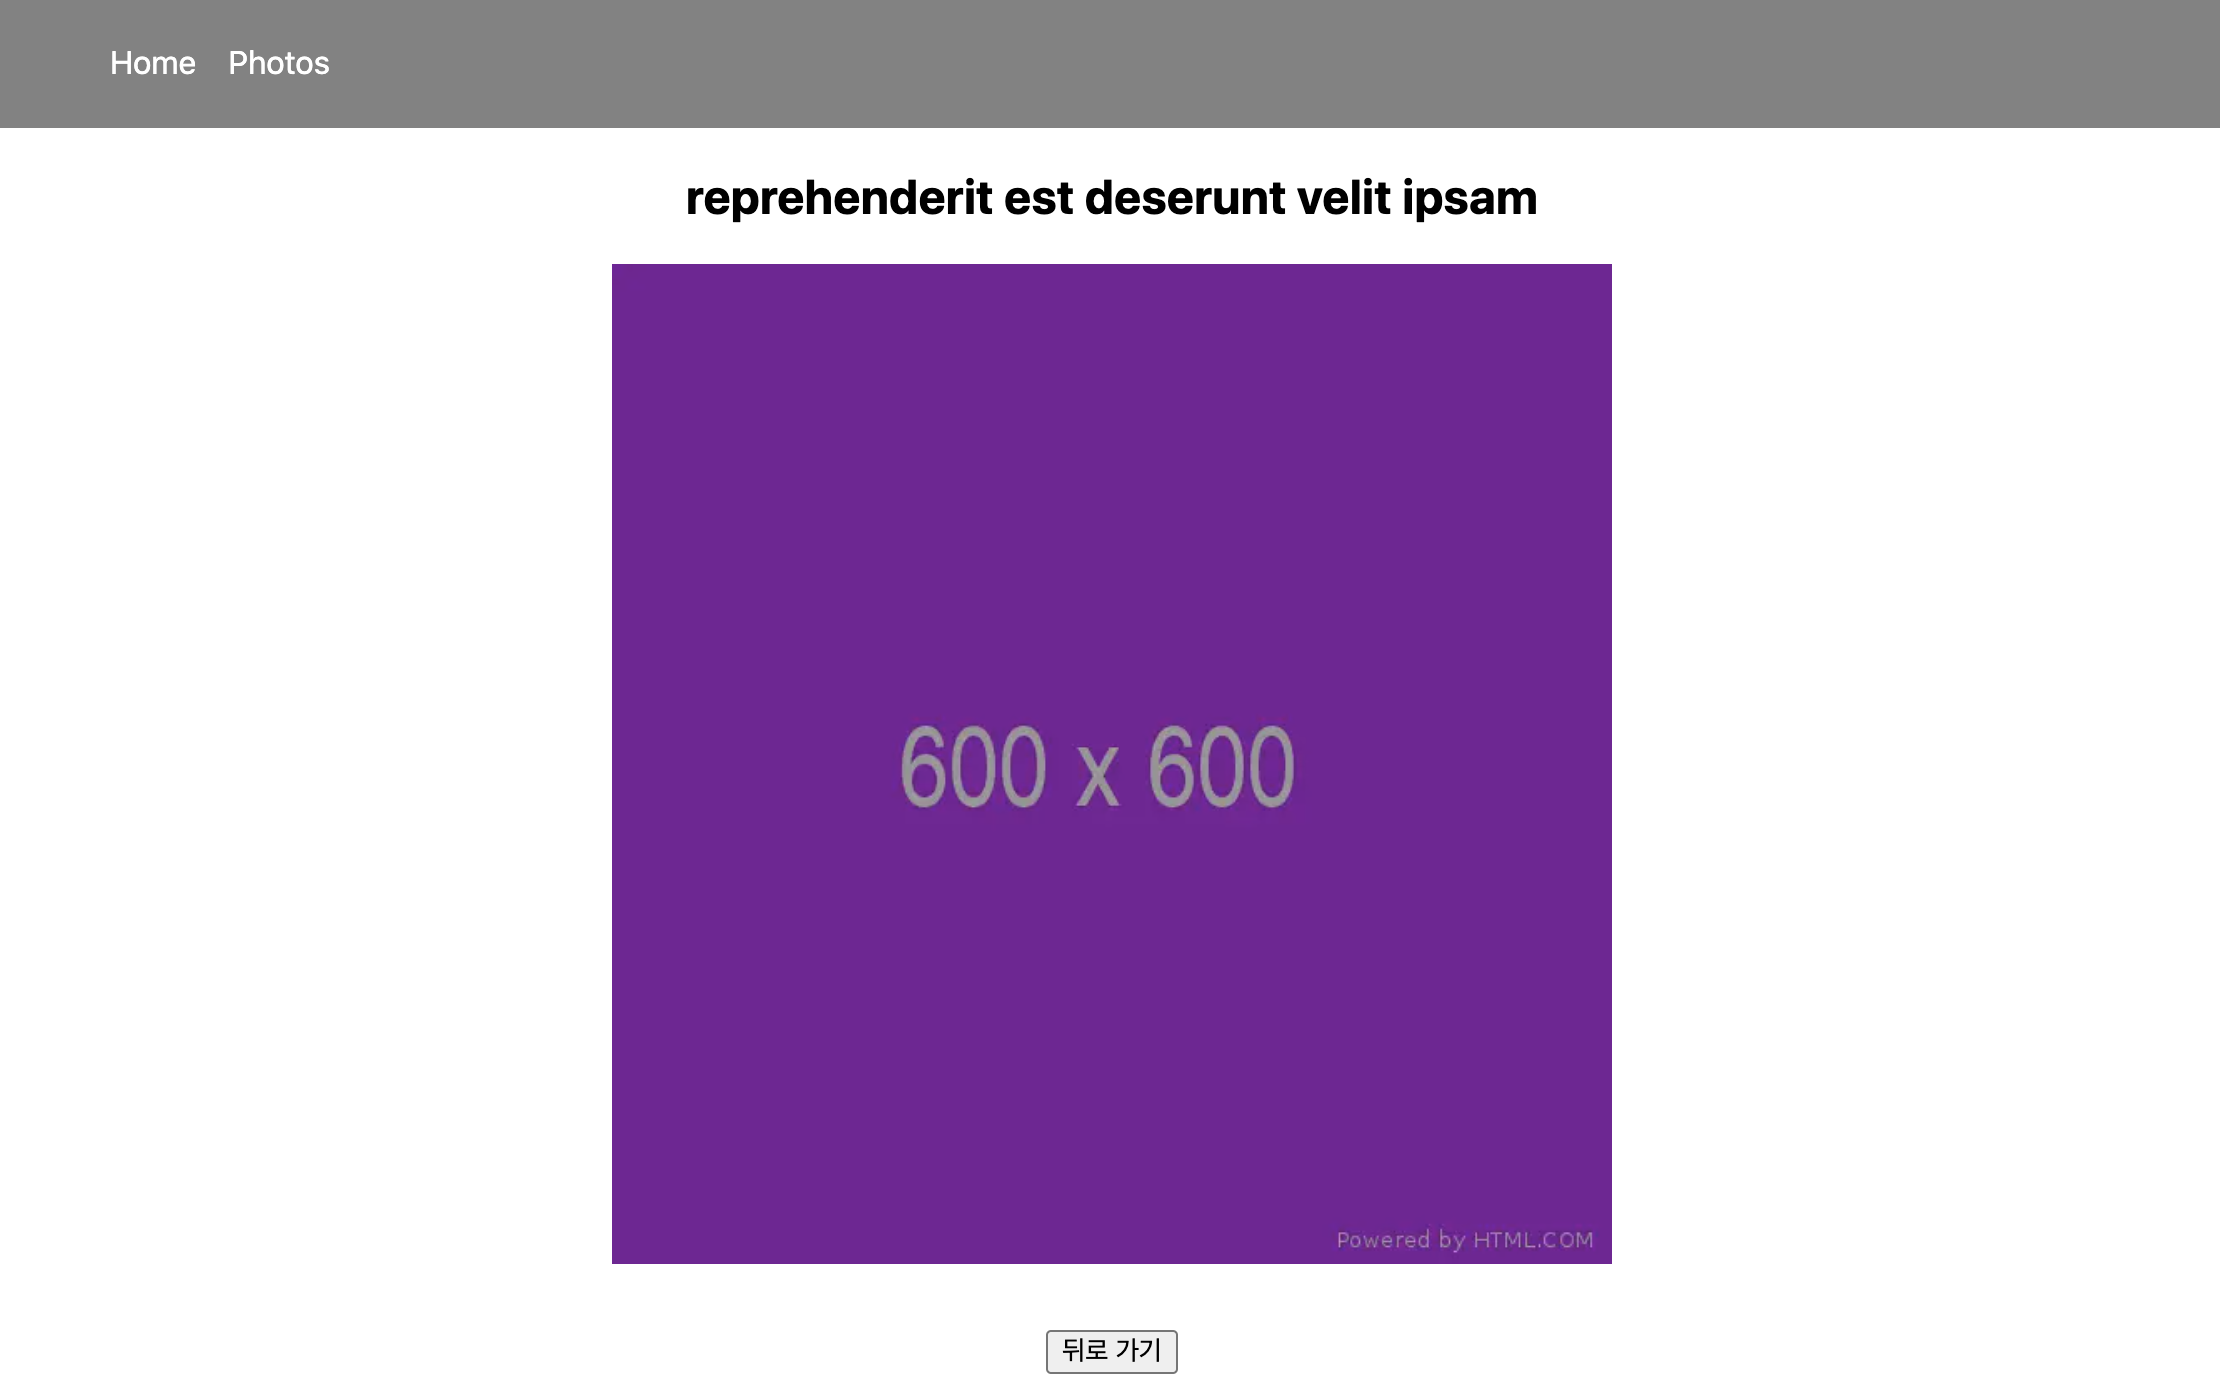
http:.../photos/1 와 같이 상세 페이지로 접근합니다.
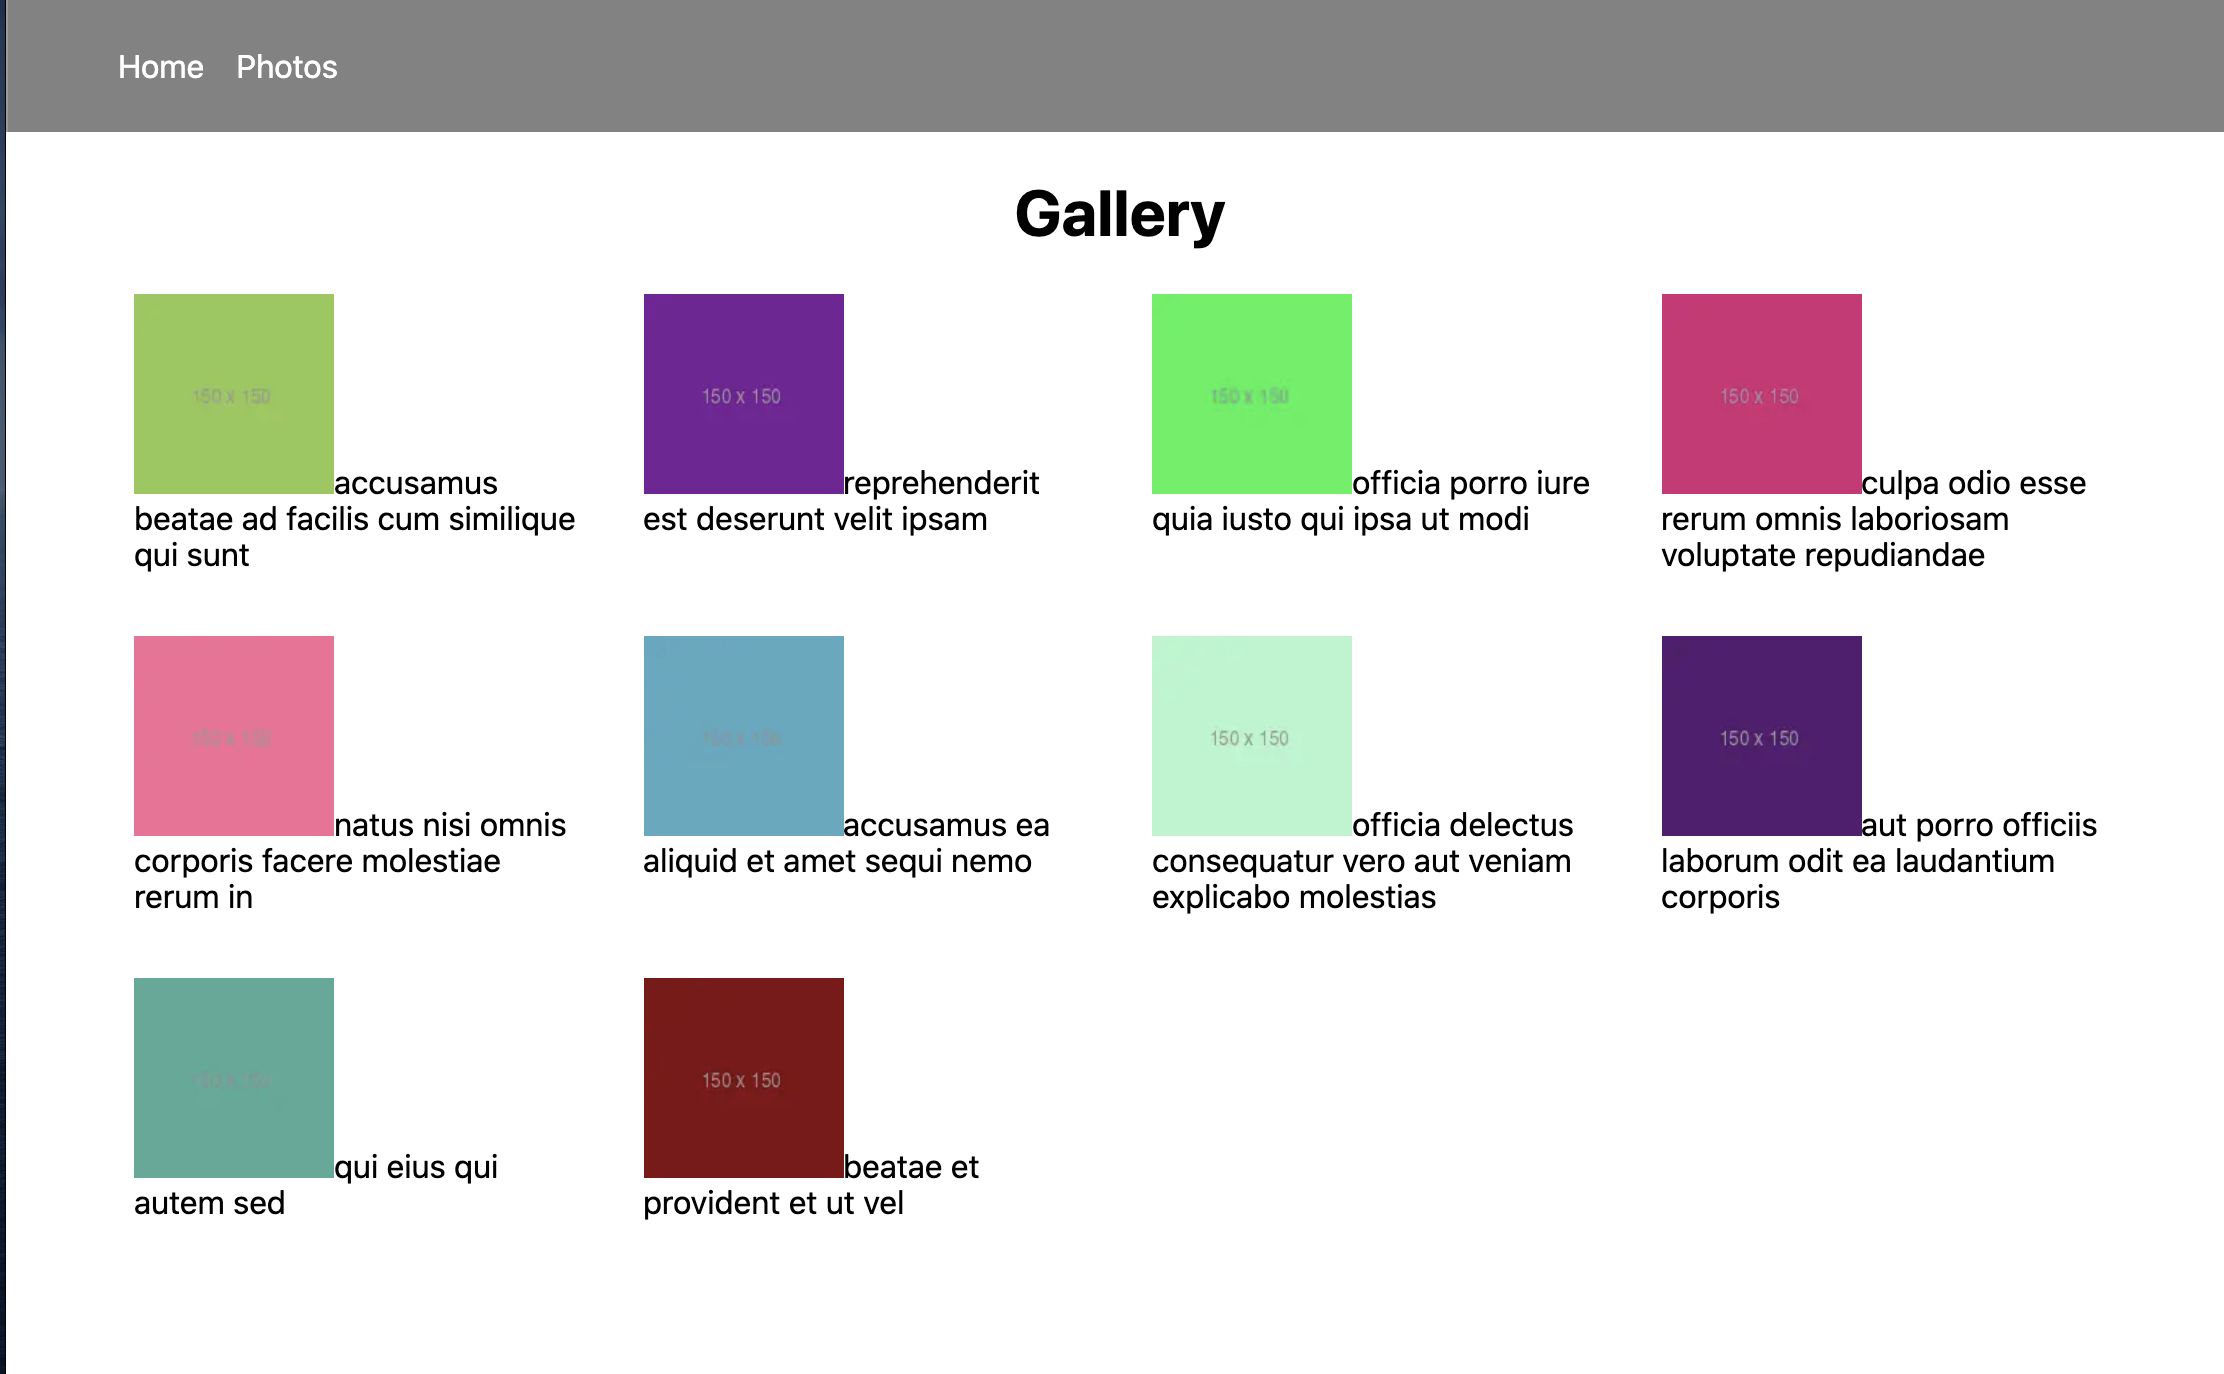
폴더 구조
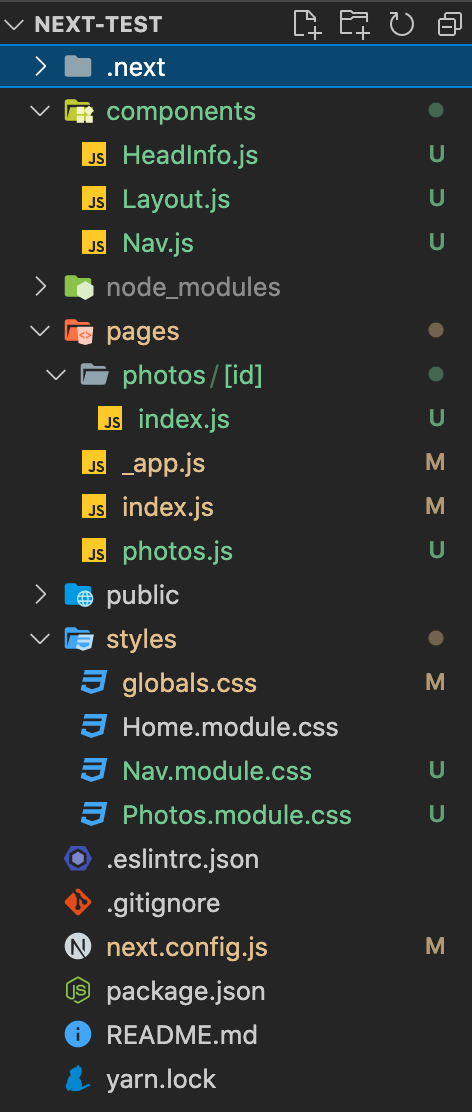
pages > photos.js
import HeadInfo from "../components/HeadInfo"
import Image from 'next/image'
import styles from "../styles/Photos.module.css"
import Link from 'next/link'

const photos = ({ photos }) => {
    return (
        <div>
            <HeadInfo title={'Next.js photos'} />
            <h1 style={{ textAlign: "center" }}>Gallery</h1>
            <ul className={styles.photos}>
                {photos.map(photo =>
                    <li key={photo.id}>
                        <Link href={`/photos/${photo.id}`}> //여기서 id를 path로 보내면서 링크 이동
                            <a>
                                <Image src={photo.thumbnailUrl} alt={photo.title}
                                width={100} height={100} />
                                <span>{photo.title}</span>
                            </a>
                        </Link>
                    </li>
                )}

            </ul>
        </div>
    );
};

export const getStaticProps = async () => {
    const res = await fetch('https://jsonplaceholder.typicode.com/photos?_start=0&_end=10')
    const photos = await res.json();z

    return {
        props: {
            photos
        },
        revalidate: 20
    }
}

export default photos;
getStaticPaths, getStaticProps로 '.../photos/${id} 접근
pages > photos > [id] > index.js
- getStaticPaths 로 받은 id를 params: { id: id.toString() } 를 만들어 path에 매칭
- getStaticProps에서 context로 받음
- /photos/${id}로 fetch
import Image from 'next/image';
import Link from 'next/link';
//import { useRouter } from 'next/router';

const index = ({ photo }) => {
    //const router = useRouter();

    return (
        <div style={{ textAlign: "center" }}>
            <h2>{photo.title}</h2>
            <Image src={photo.url} alt={photo.title} width={500} height={500} />
            <Link href="/photos">
              <a style={{ display: "block", margin: "30px" }}>
                <button>뒤로 가기</button>
              </a>
            </Link>
        </div>
    );
}

export const getStaticProps = async (context) => {
    const { id } = context.params
    const res = await fetch(`https://jsonplaceholder.typicode.com/photos/${id}`)
    const photo = await res.json();
    return {
        props: {
            photo
        }
    }
}

export const getStaticPaths = async () => {
    const res = await fetch('https://jsonplaceholder.typicode.com/photos?_start=0&_end=10')
    const photos = await res.json();
    const ids = photos.map(photo => photo.id);
    const paths = ids.map(id => { //동적으로 id 생성
        return {
            params: { id: id.toString() } //context
        }
    })

    return {
        paths, //생성된 id를 path에 매칭
        fallback: false //없는 id 입력시 404 에러 출현
    }
}

export default index;
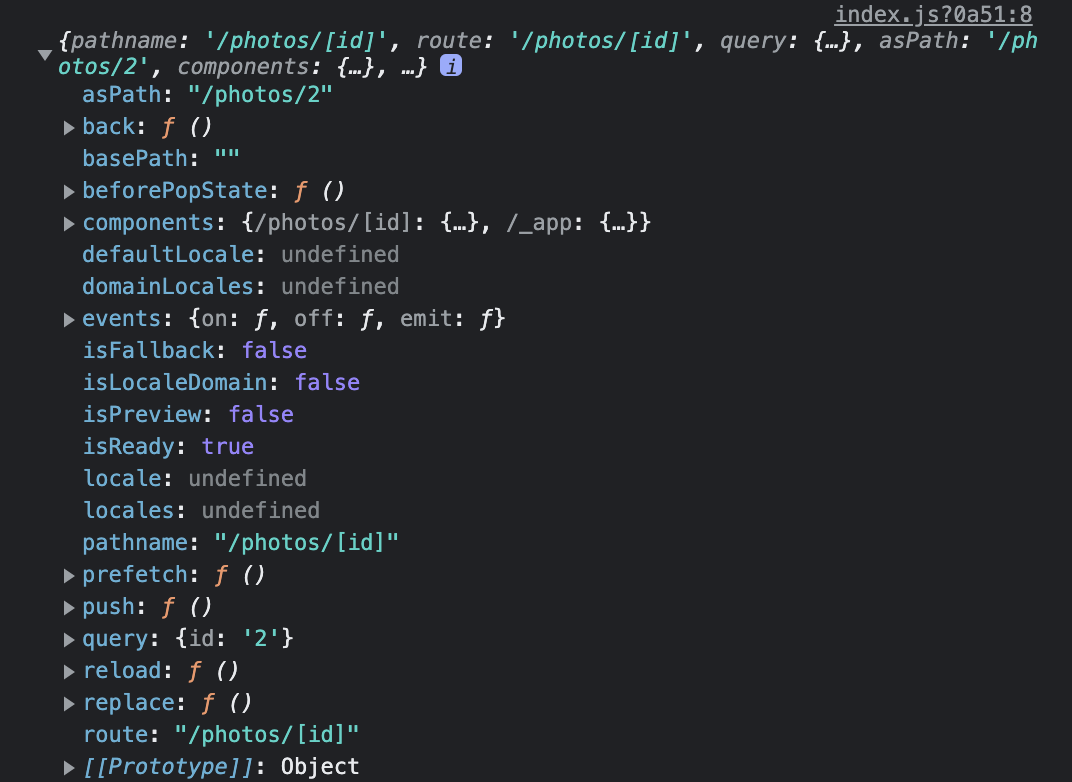
useRouter 이용
import { useRouter } from 'next/router';

const index = ({ photo }) => {
    const router = useRouter();
    console.log(router);
    }
router를 콘솔에서 확인하면 아래와 같이 router.query.id를 이용하여 세부 페이지에 접근할 수 있습니다.
반응형
'개발 > React' 카테고리의 다른 글
| [react] Redux를 이용한 쇼핑몰 만들기 (ft. redux, axios) ver.1 (0) | 2021.09.13 |
|---|---|
| [react] 장바구니 추가, 삭제, 전체 삭제 기능 구현 (0) | 2021.09.10 |
| [react] next.js 사이트 만들기 (ft. getStaticProps, getServerSideProps) ver.1 (0) | 2021.09.08 |
| [react] Object is possibly 'null' (ft. typescript, style) 오류 해결 (0) | 2021.09.06 |
| [react] 체크 박스 토글 기능 구현 (ft. new Set(), checked) (4) | 2021.09.05 |


댓글